
Kitchen technique
How to Toast Walnuts in a Pan or Oven
Use a pan for a small amount of dry walnut kernels or an oven for a wider batch. Spread the pieces in one layer, check often and remove them from the hot surface when ready. Timings are starting points, as small pieces and different appliances can cook faster.
Prepare the kernels before heating
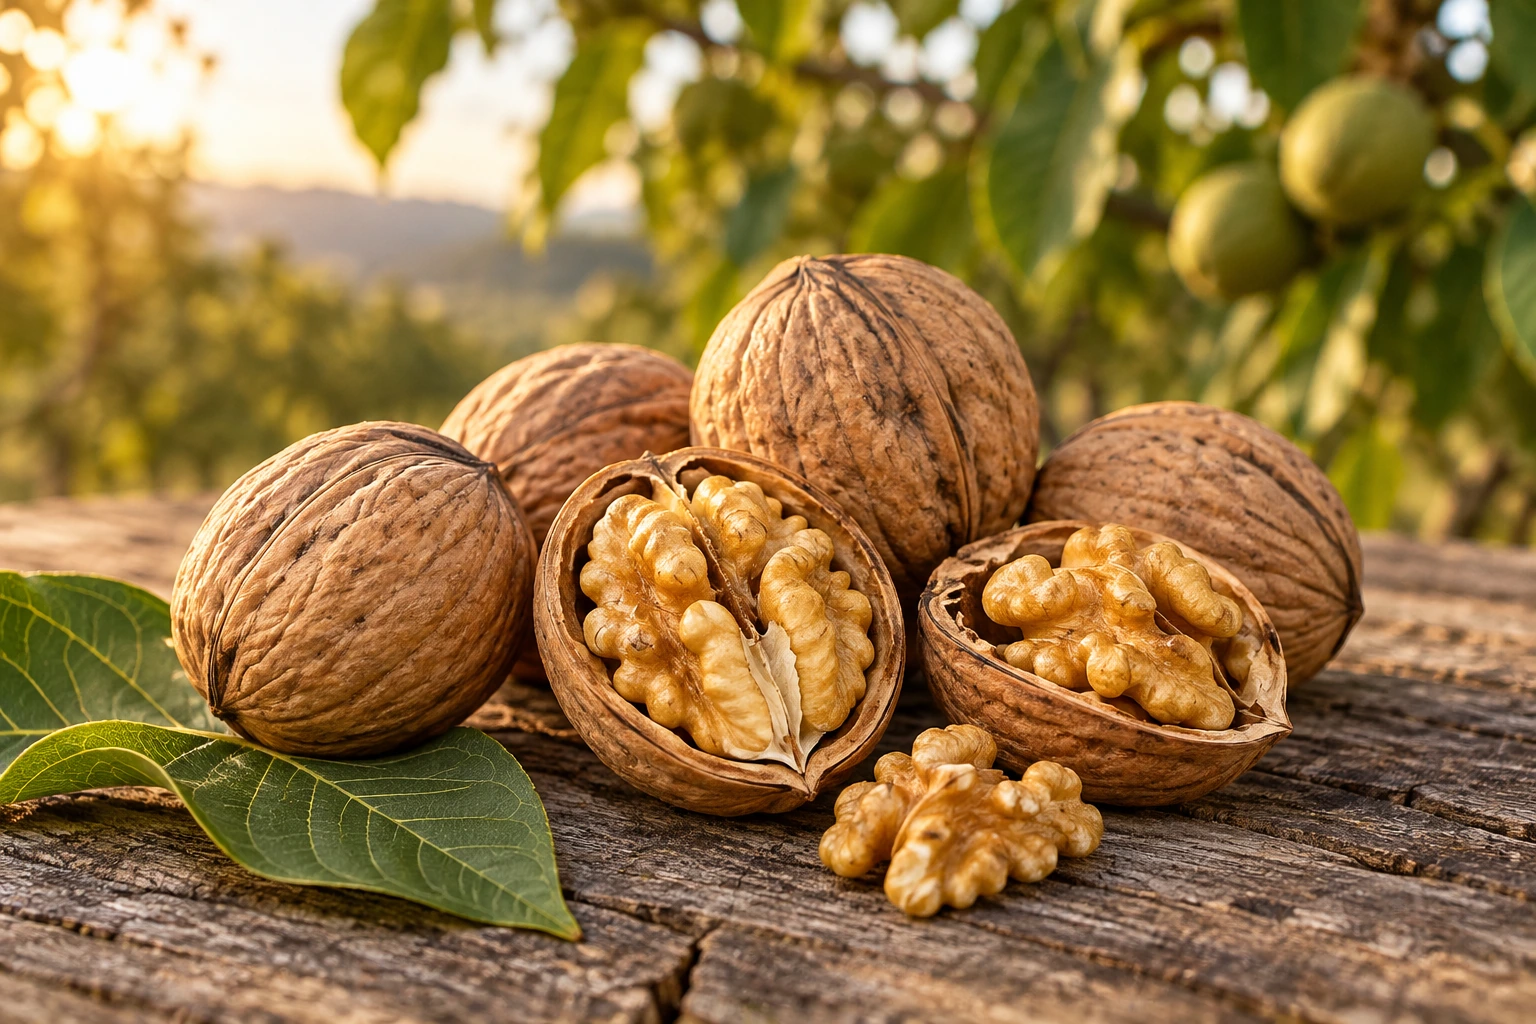
Use clean walnut kernels with the hard shells removed. Check for small shell fragments left on the tray. Keeping tiny pieces separate from large halves makes colour changes easier to compare. If a recipe needs chopped walnuts, consider chopping after toasting and cooling.
This is not the post-harvest drying of fresh green-hulled walnuts. It is a flavour step for dried kernels intended for the kitchen. Weigh the amount required first; preparing a recipe-sized batch makes the result easier to observe than processing an entire large pack at once.
Toasting walnuts in a pan
California Walnut Commission recommends a dry pan over medium heat with constant stirring for small quantities. [1] Keep the nuts in one layer and stay beside the stove. Work in batches if necessary, remembering that a pan already heated by the first batch can behave differently for the next.
Watch both colour and aroma. If individual pieces quickly develop dark spots, reduce the heat or lift the pan off the burner. Transfer ready walnuts to a clean plate; switching off the stove while leaving them in the hot pan does not immediately stop cooking.
An oven temperature and time to start with
The same guide gives about 175°C, or 350°F, for 8–10 minutes with kernels in a single layer and occasional stirring. [1] Check early on your first attempt. The interval does not guarantee the same colour in every oven; the fan, tray and piece size affect the result.
Look at pieces in the middle as well as those at the edges before deciding the batch is ready. Do not expect tiny crumbs to need the same time as large halves. Note the tray, setting and result you liked so the next attempt starts from your own observation.
Cool before chopping or mixing
Spread toasted kernels on a clean, heat-resistant surface. Once they can be handled comfortably, chop or measure them into the recipe. For a cold salad or yogurt mixture, waiting until they cool gives more control than adding them directly from the hot pan.
Walnuts destined for a cake will enter the oven again, so follow that recipe’s instructions. Pre-toasting is not essential for every dish. Compare small batches with plain and toasted kernels to find your preference rather than treating one approach as the best choice for every meal.
Can heating fix a spoiled batch?
Do not try to hide a burnt batch under sugar or spices. For the next attempt, use a smaller quantity and check more frequently. Mouldy nuts should be discarded; toasting is not a way to recover them. [2]
This home method is not presented as a validated microbial treatment. Follow any product instructions and regard toasting as a flavour and texture choice. Let unused kernels cool completely before putting them into suitable storage, and prepare quantities that match your recipe plans.
Frequently asked questions
Do I need to add oil to toast walnuts?
No oil is required for plain toasting. Adding oil, salt or spices is a separate recipe choice.
Can I use the same time in an air fryer?
Do not assume so. Airflow and basket design differ. Follow your appliance’s instructions and check a small trial batch early.